
This is going to be a post about process for “dreepy evolves”. I’m going to focus on the final shot because that one was the most difficult to do. This is going to be very long, so feel free to skip all the boring words and look at the pictures.
This shot was an attempt at Itano Circus, which I’ve never tried before. If you don’t know what that is, it’s those shots in anime that follow swarms of rockets launching. It’s named after Ichiro Itano who came up with that style of fighting sequences.
So because I never attempted anything like this before, and I knew I wanted to animate on paper, I needed to plan things out very carefully. I used storyboard pro to figure out all of the camera angles.
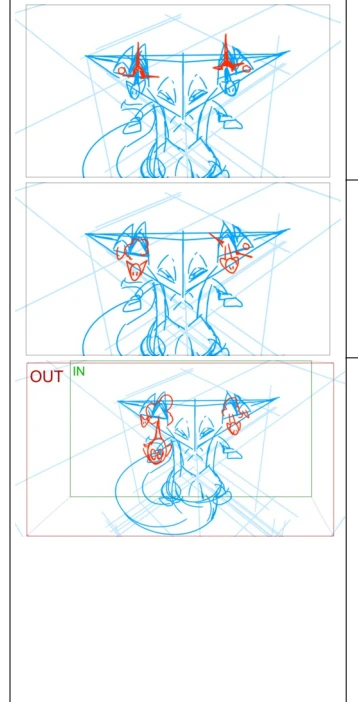
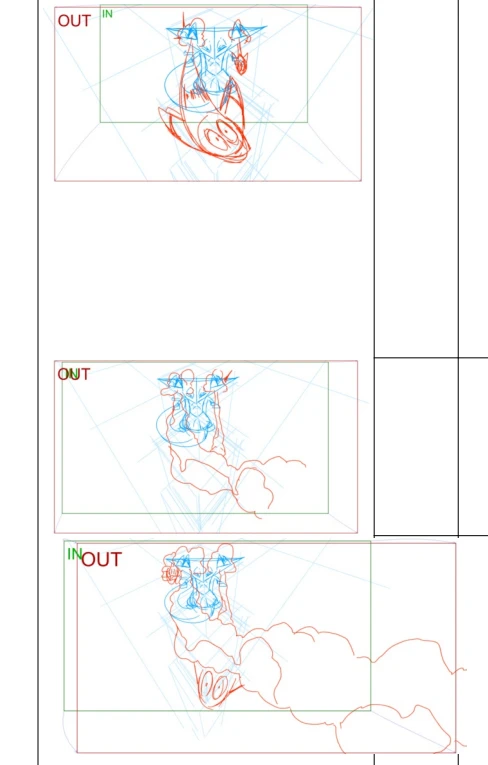
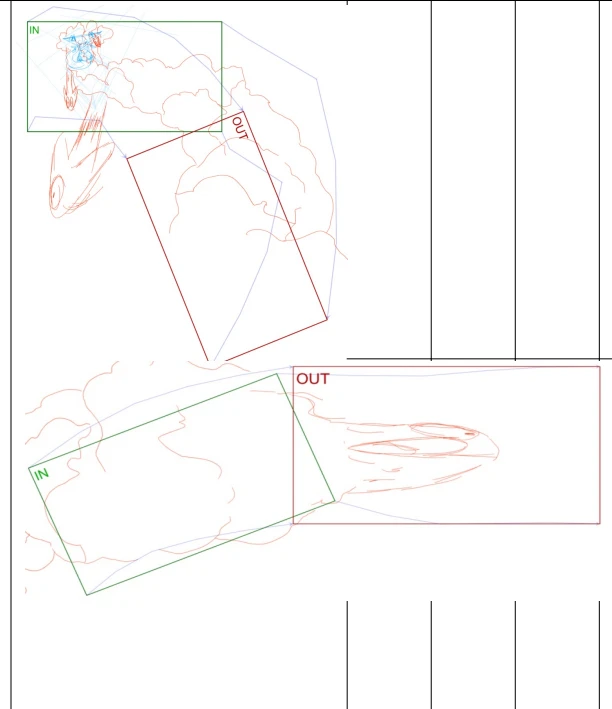
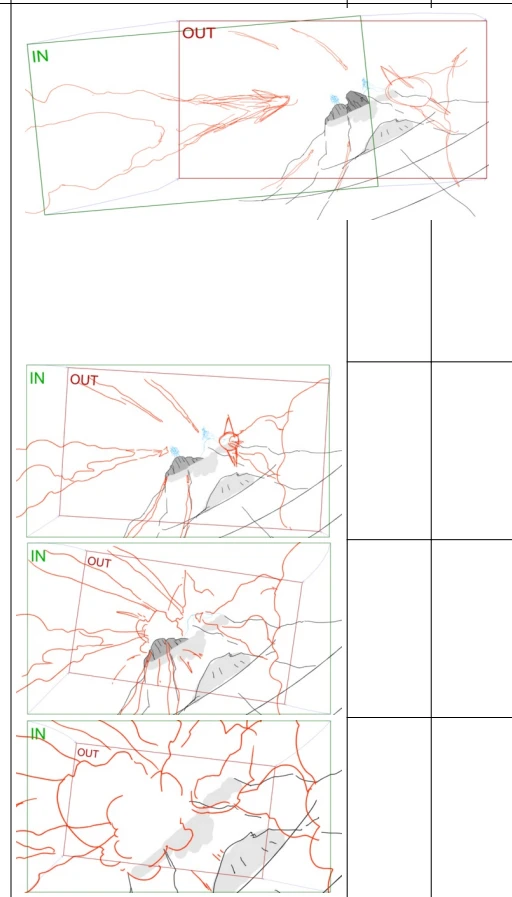
It ended up becoming one long camera pan: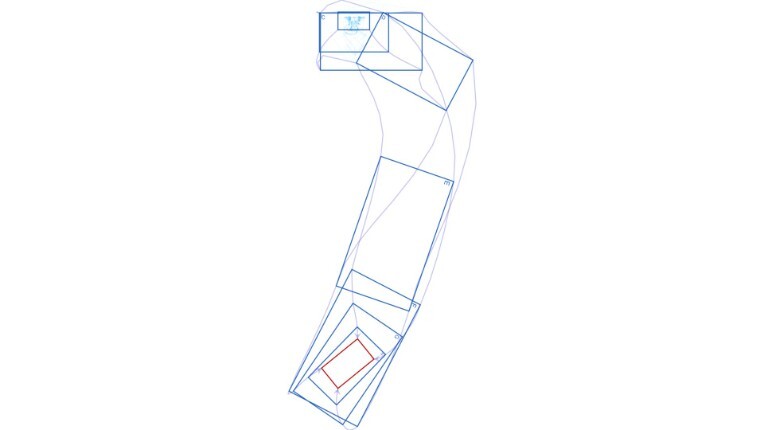
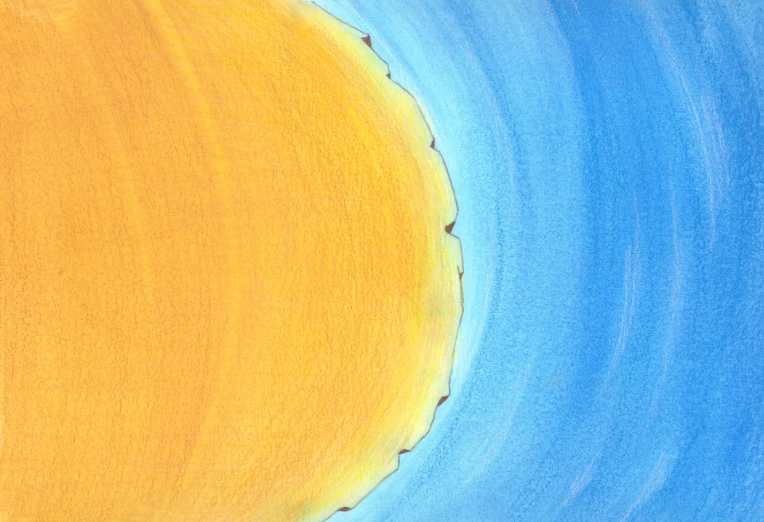
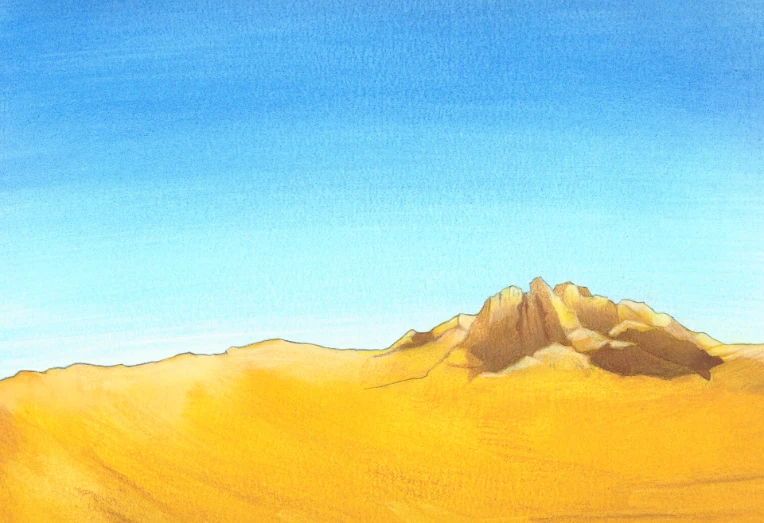
From here, I could tell that I needed 3 backgrounds and 4 layout drawings. I started with the backgrounds first since they would help inform the layout stage.
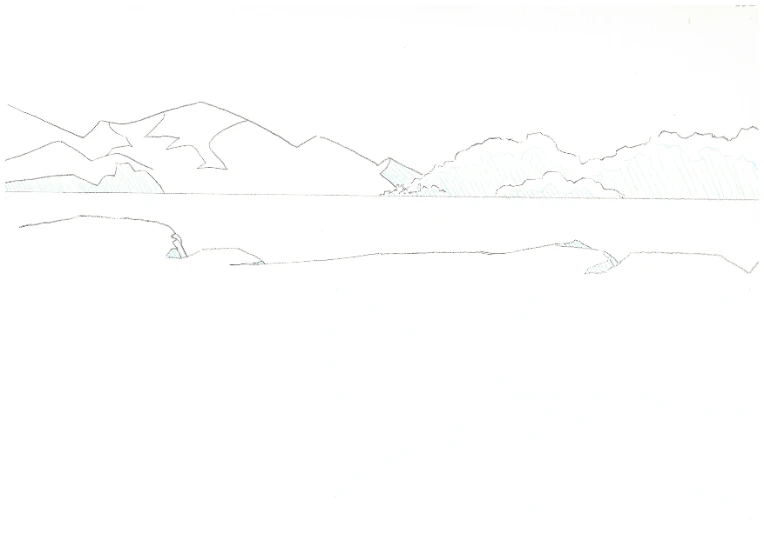

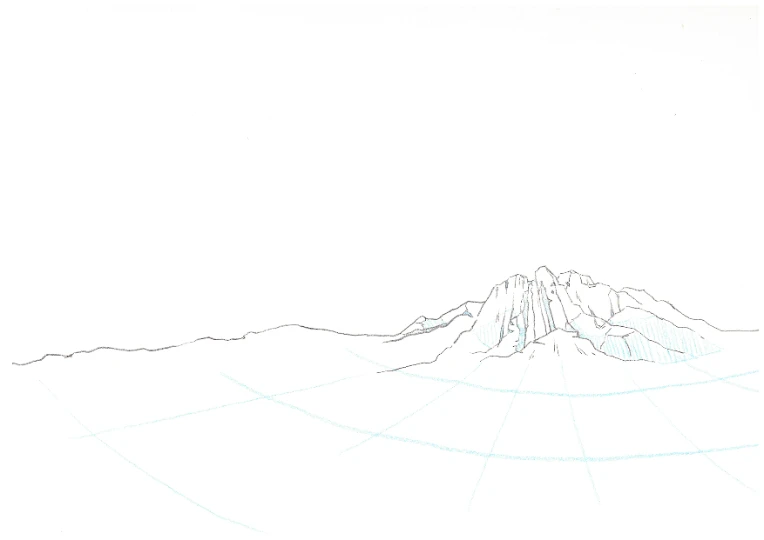
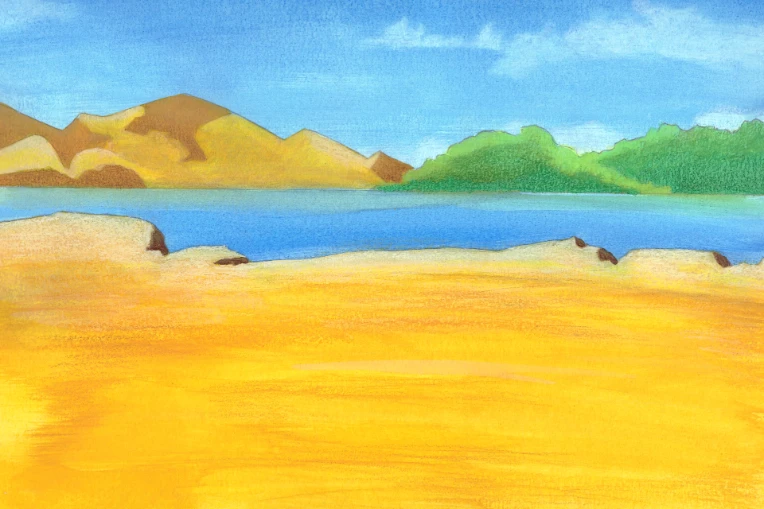
Next I painted them with poster paints. When I’ve painted backgrounds in the past I ended up with curling paper, even though I’m using very heavy 200lbs cold pressed watercolor paper. This time, I tried out a new technique, where after it’s finished and dried, you take a damp sponge to the back of it, put it face down between some wood, and pile some heavy objects on it. This really helps to make it flat and the paper is thick enough to handle the moisture without it seeping to the side you painted on. The result was that my backgrounds scanned a lot better than when I did painted backgrounds for Mudkip or Scorbunny (those live on youtube). After that I touched everything up with some colored pencil.
Then it was time to animate. I did a key pose or a layout pose for each angle based on those storyboards from earlier. Then I worked from there with straight ahead animation, and then a little bit of pose to pose between layouts so that the perspective shift would flow correctly. When you scan drawings with a document feeding scanner, the peg-holes of your animation will not be aligned, and it will “wiggle” all over the place. There are many software that can stabilize these for you, and TVpaint is the best one by far. However, I use OLM peg hole stabilizer because it is the fastest and It is free. Opentoonz can also do this but it messes up a bit more often and requires a lot exact preparation of file sizes. I used Opentoonz to clean, color, and time out the animation. Here’s a pencil test on 2’s with no timing:
Once clean and color was finished, I took everything into after effects. Remember that long camera pan image from before? Here’s what it looked like when I put it all together:
And here’s the finished product. This GIF is a little different from what ended up in the animated short. Can you tell what I changed?
That’s roughly the process I went through for every shot. This project took me more than 2 years to complete, I started on 5/18/2022, intending it to be done in flash. I changed the concept entirely, scrapped everything, and restarted on 10/21/22 after learning to use storyboard pro.
Thanks for reading all the way to the end, happy to answer questions if there are any.